Telluride Via Ferrata
30
September 2019

Via Ferrata is Italian for “Iron Road”. The name is used for routes requiring climbing gear for technical sections with a wire to clip into. There are many in Europe but, in the United States, they’re almost exclusively on private land and costly to do. The exception is in Telluride. This route was built on public land without a permit in 2007 by Chuck Kroger. While guides offer tours, it’s a free experience for anyone with the necessary gear.
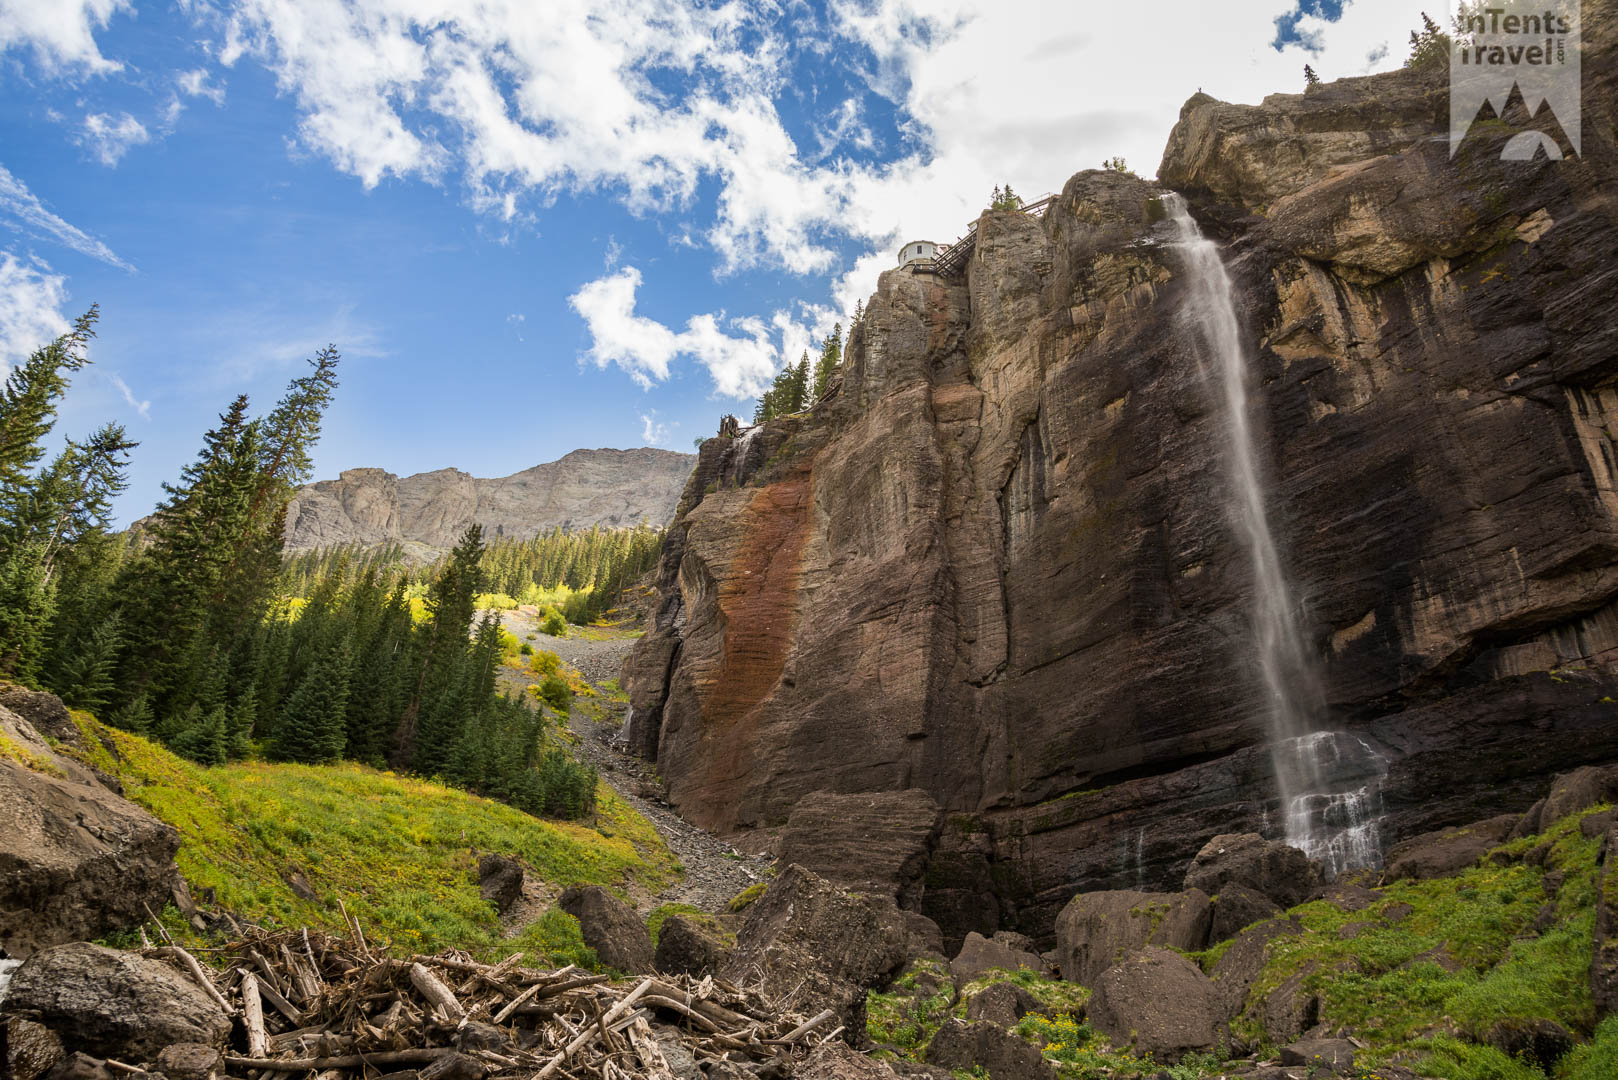
The via ferrata route starts at the eastern edge of town. Drive towards Bridal Veil Falls; the road will eventually become unpaved and pass by some mining pools. At the turn before the last of these pools is the lower parking lot for the route. From there, you can park or continue further if you have a high clearance vehicle. I parked at the top of the second switchback at the base of the falls. I walked up the next switchback where there is a clear trail that continues where it turns back. Just after crossing a split log bridge, look for a small trail to the right that goes up the steep hill. Once you reach the top of the hill, the trail will begin to traverse ever closer to the ledge. Eventually, you’ll see the beginning of the cable route.
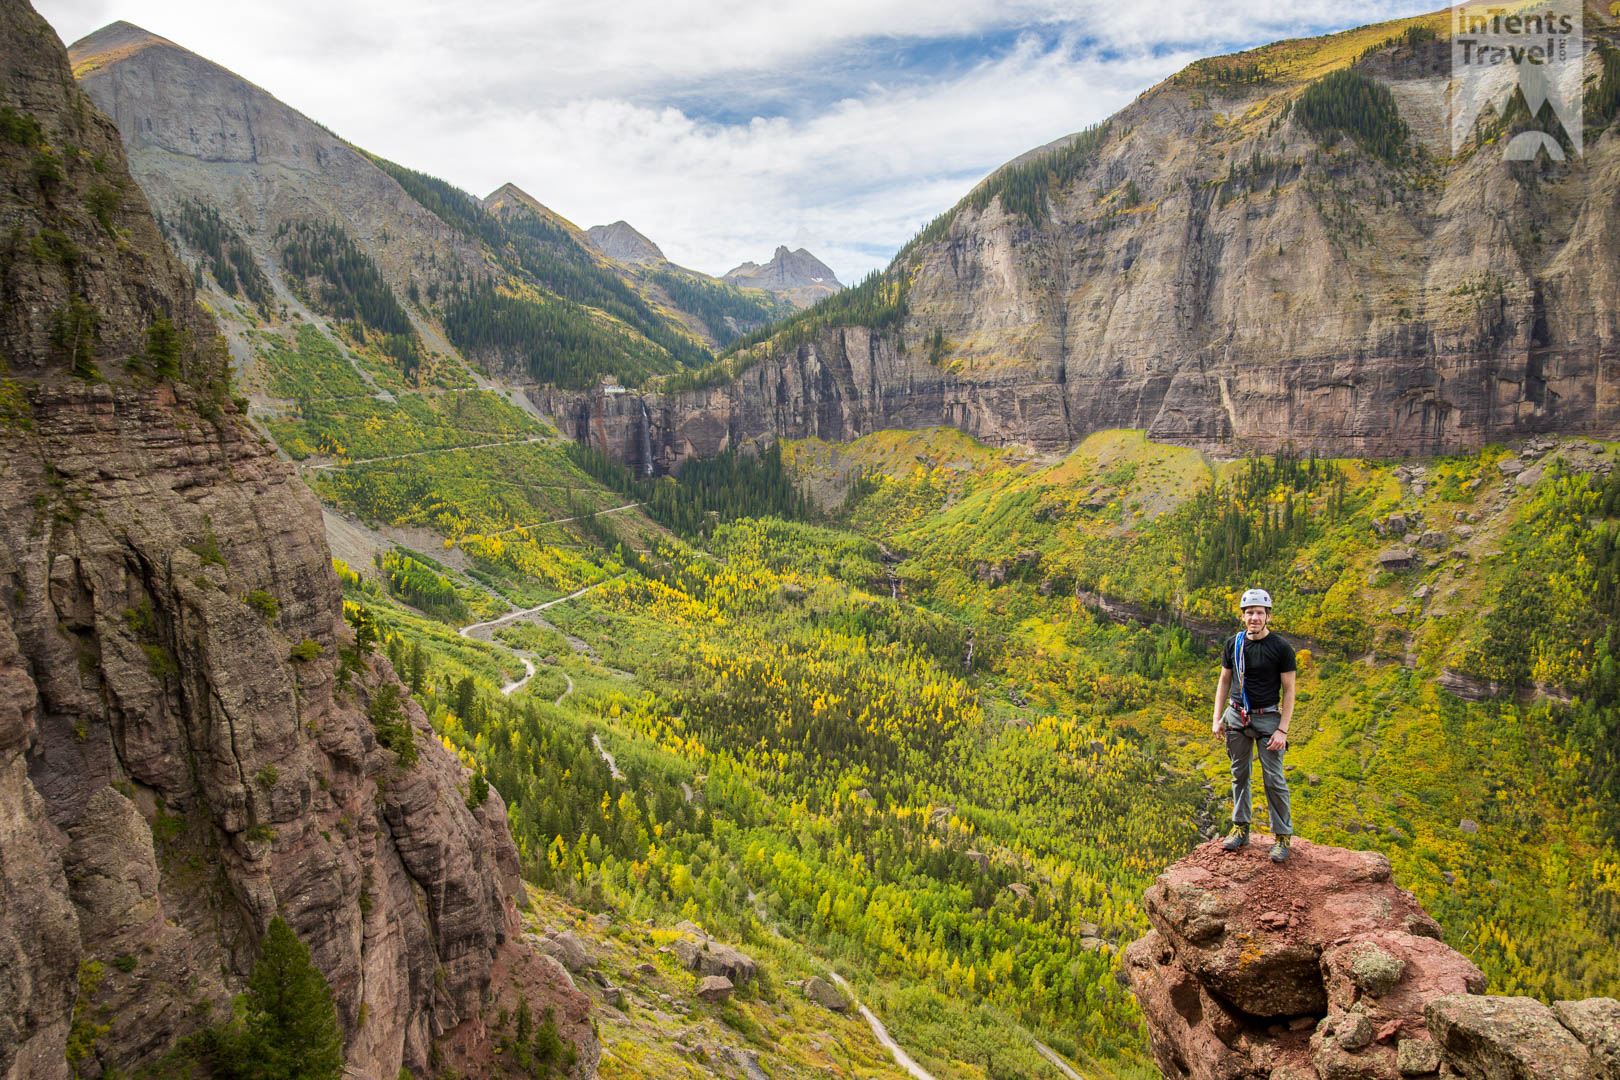
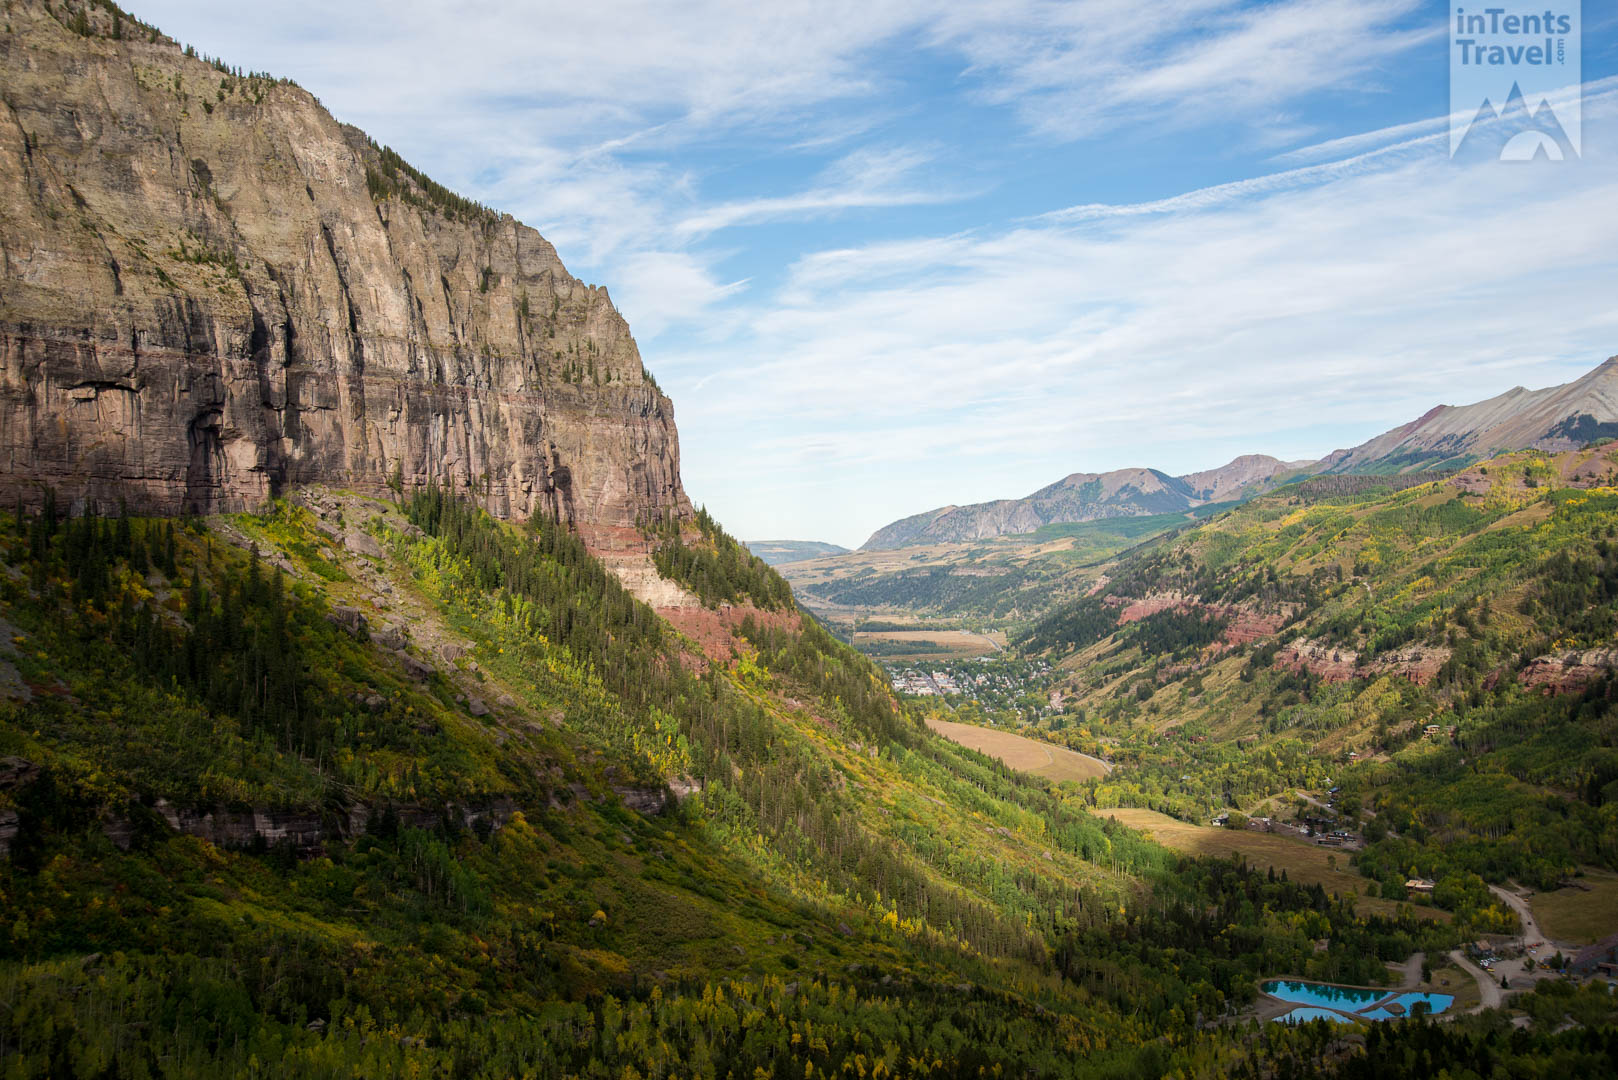
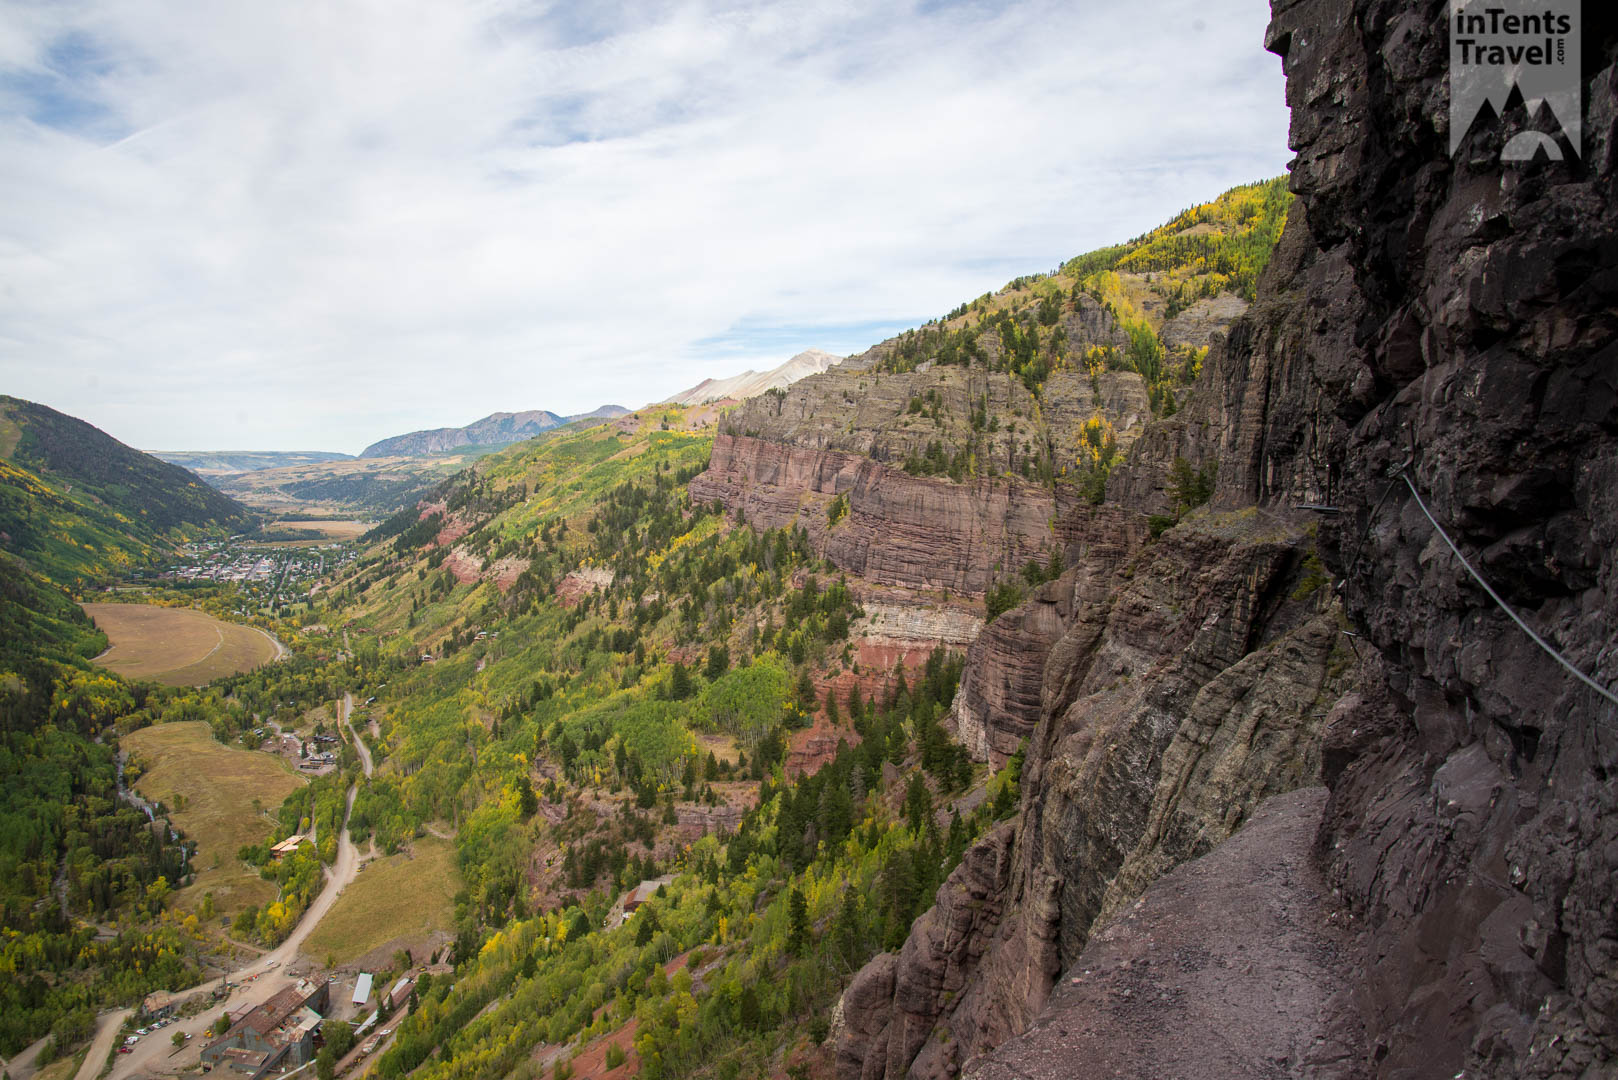
The late September views were amazing.
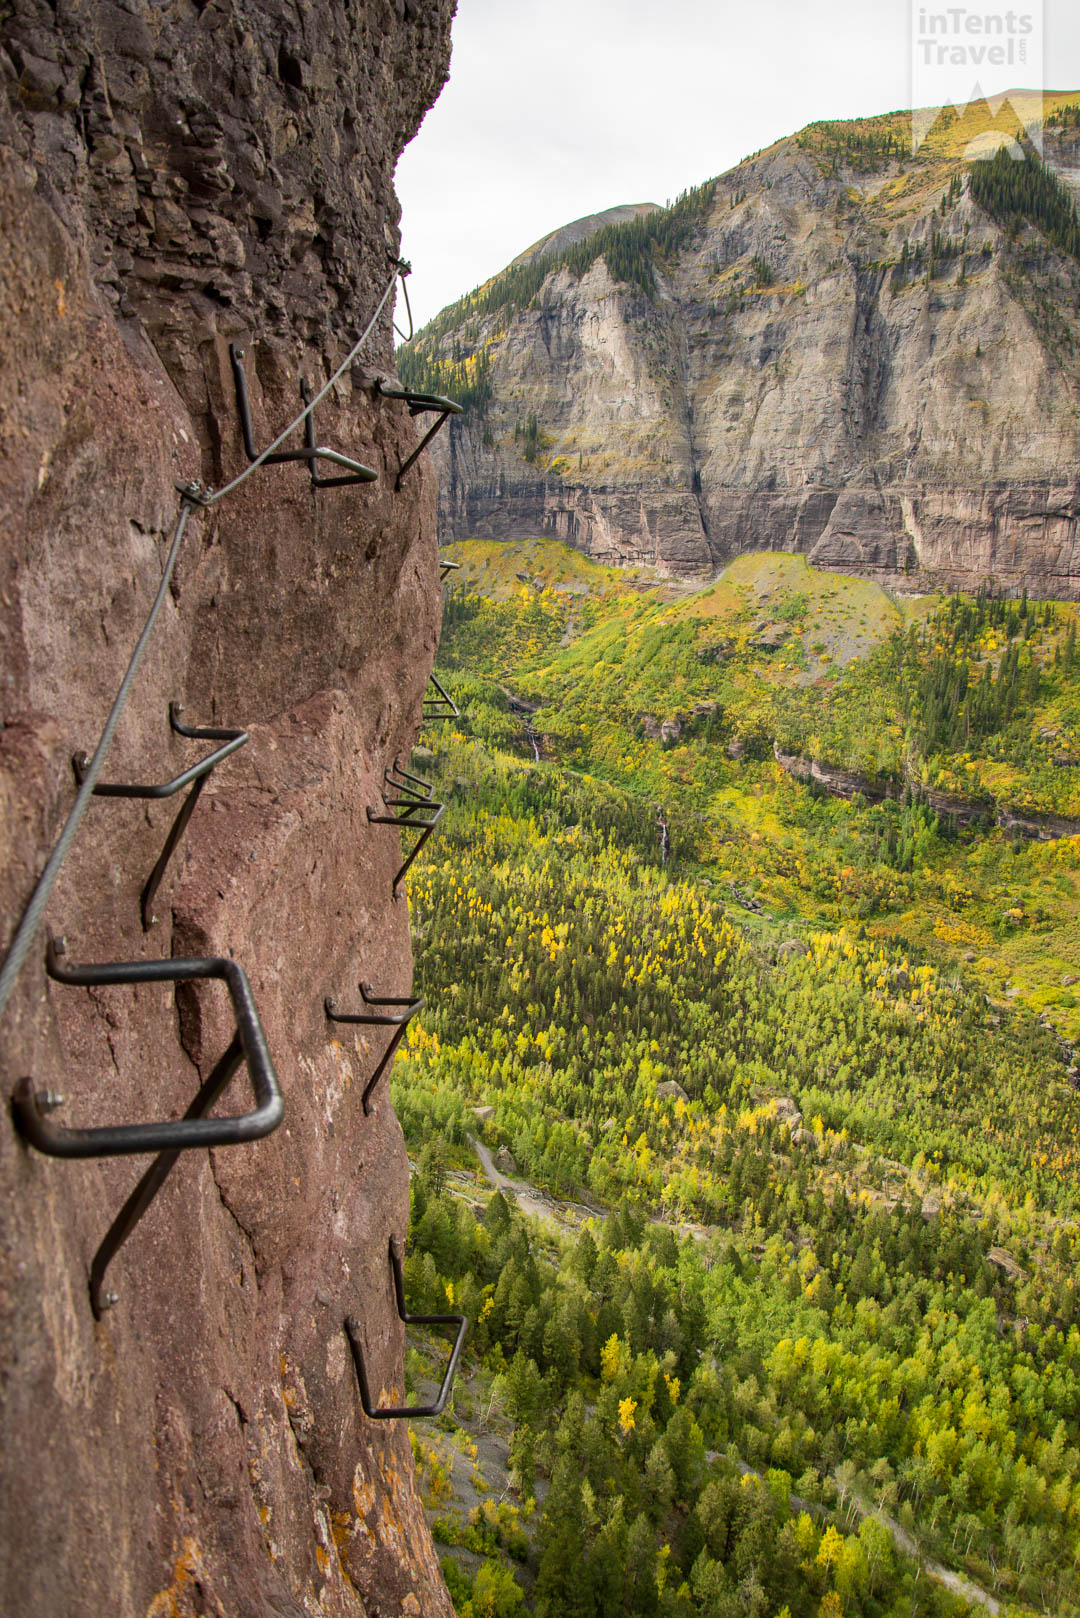
Again, while the route is well established, it’s not really official. It is a one-way traverse normally followed from east to west. To complete the route, there is a small road to walk back down to your car at the end. If you research the via ferrata, you’ll no doubt see pictures of the “main event” section. However, much of the route is far less exposed than this. In fact, I spent more than half the hike not clipped in at all. You’re probably wondering how scary the experience is. For reference, I don’t consider myself to have a fear of heights. I found the beginning of the hike to be fun but not at all scary. There is constant exposure though and no cable to clip into. The “main event” begins suddenly and I always feel a bit uneasy for the first couple of steps when I have to trust my gear. The most difficult section is fully exposed, a couple hundred feet up a vertical wall. Here you have U shaped metal posts to hold and stand on. Moving between some of the posts can be a stretch. There is one blind corner that can be intimidating as you approach it. These difficult sections are broken up and you do have time to recover should any of them make you uncomfortable.
“Be honest with yourself about your fears, the extensive exposure shouldn’t be overlooked.“
I was doing the hike independently and brought my own gear. I started early in the morning and didn’t encounter many other people. In fact, I’d seen so few people I decided to double back rather than walking on the road. I was alone and yielded to everyone I passed on my return. Be respectful and don’t do this if the route is crowded or you are part of a large group. Overall, I’d highly recommend the route. Be honest with yourself about your fears, the extensive exposure shouldn’t be overlooked. If you have any issues with heights but still want to go, use a local guide. They will provide you with all the gear you need and the experience will be easier with the support of others. I don’t feel I have the knowledge to give detailed gear requirements. Generally, you’ll need a climbing harness, via ferrata leashes, a couple of carabiners and a helmet. Make sure to be safe but, if you’re up to it, don’t miss this hike.
